Some time ago, I wanted to display images in a better way on my Hugo website. I searched for existing Hugo themes for photography and gallery tags. Can’t say I find much. Then, I met a javascript library called nanogallery2 which is using another javascript library as an image viewer lightbox2. In this post, I’ll explain how I used nanogallery2 on my Hugo website. I assume that you know about image processing in Hugo or read my previous post.
Use LightBox in a Post
Lightbox2 is a javascript library developed by Lokesh Dhakar. It displays images and videos in a good looking way. NanoGallery2 is another library, it uses lightbox2 as image viewer and, additionaly, has other features.
To use an image in a post I have created a shortcode called named img: /layouts/shortcodes/img.html. You can see the whole img shortcode at the end of the post but I’ll continue by taking only the related part with nanogallery2:
{{ $image = resources.GetMatch (.Get "src") }}
{{ $.Scratch.Set "thumbnail" ($image.Resize "600x q90") }}
<img src="{{ ($.Scratch.Get "thumbnail").RelPermalink }}" data-ngsrc="{{$image.RelPermalink}}" alt="{{ $caption }}"/>
- We get the resource
$image. - Create a smaller one and call it
thumbnail. - Pass the original image we want to display as
data-ngsrc.
You can see the original concept from nanogallery2 documentation
Additionaly, we can change the default settings by providing data-nanogallery2-lightbox. The settings should be in json format, you can directly add the parameters you want into html or keep the settings in a separate file and pass it to the HTML using Hugo’s getJSON function. To learn about the settings, you must read the nanogallery2’s documentation.
{{ $nanogallery2_settings := getJSON "/static/ng2_lightbox.json" | jsonify}}

<img src="{{ ($.Scratch.Get "thumbnail").RelPermalink }}" data-ngsrc="{{$image.RelPermalink}}"
data-nanogallery2-lightbox="{{$nanogallery2_settings}}" alt="{{ $caption }}"/>
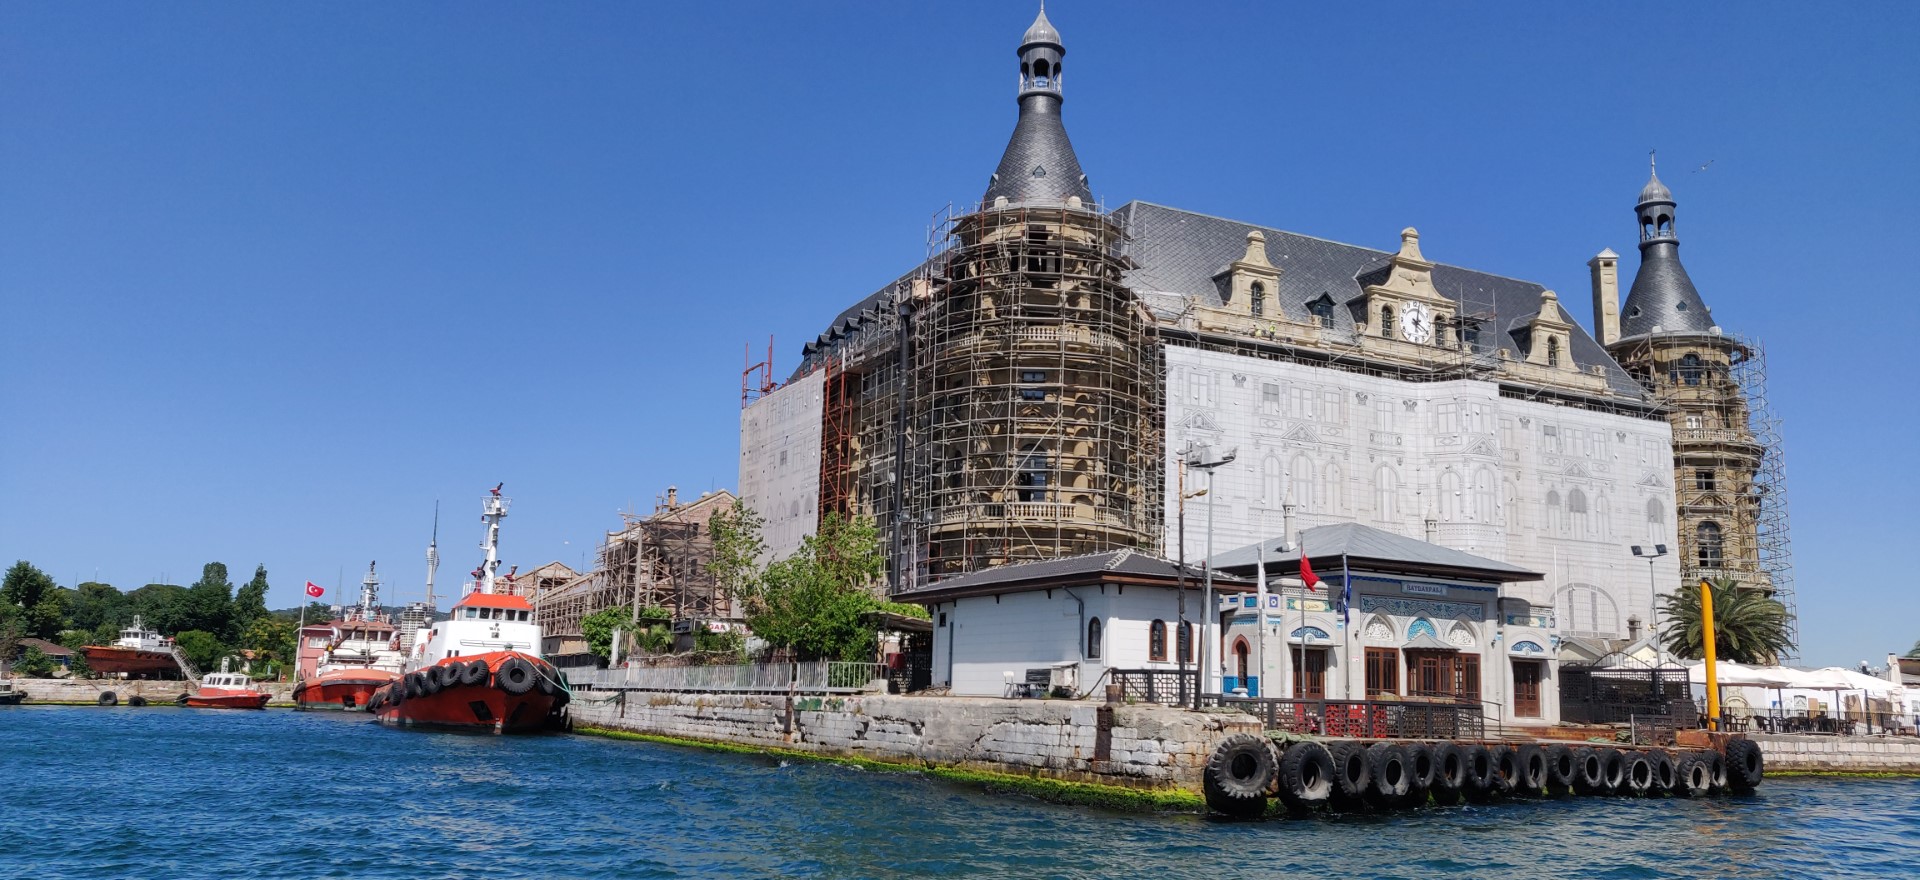
Click on the image to see lightbox in action.
Use NanoGallery2
This is probably not very useful for a blog post we can use the gallery view too. To do that, I’ve created a separate shortcode called gallery.html. This one takes a directory and displays the resources under that directory.
You can call the gallery shortcode like this: {{/< gallery directory="images/posts/nanogallery/*" >}} Don’t forget the star at the end, read the pattern matching for more info.
Recently, as a weekend project, I’ve created an image gallery site for myself. I’ve published the project on GitLab: Art-Collection Theme. It’s pretty simple, and probably requires some improvements. I learned a lot while building it. It’s designed to present just collection of images only, and displaying blog content is disabled.
The Libraries
To use the libraries, we have to load them, usually in the head section of the HTML. Jquery is a dependency of nanogallery2, so we have to add it too.
{{ if .Params.gallery }}
    <script src="https://cdnjs.cloudflare.com/ajax/libs/jquery/3.5.1/jquery.min.js"></script>
    <link rel="stylesheet" href="https://cdnjs.cloudflare.com/ajax/libs/nanogallery2/3.0.4/css/nanogallery2.min.css"/>
    <script src="https://cdnjs.cloudflare.com/ajax/libs/nanogallery2/3.0.4/jquery.nanogallery2.min.js"></script>
{{ end }}
You should set gallery: true in the page’s front-matter, in order to load these scripts. Otherwise, they won’t be loaded. This is just a small trick for not adding the libraries to all the pages if we are not going to use them.
gallery shortcode
{{ $nanogallery2_settings := getJSON "/static/ng2_gallery_compact.json" | jsonify}}

<div data-nanogallery2="{{$nanogallery2_settings}}">
    {{ range $index, $image := sort (resources.Match (.Get "directory")) }}
    {{ $.Scratch.Set "thumbnail" ($image.Resize "x300 q90") }}
    <a href="{{ $image.RelPermalink }}" data-ngthumb="{{ ($.Scratch.Get "thumbnail").RelPermalink }}">{{$image.Name}}</a>
    [{{ end }}]
</div>
img shortcode
I used <figure> instead of <img> alone to be able to add caption when necessary. The shortcode seems long but what it does is actually simple.
- It takes an image, checks it’s size
- If the image is bigger than 600x450,
- Then, it resize the image as 600x width or x450 height, based on the image rotation and protects the aspect ratio.
- Use the smaller image in post and sets the original image as a link (so we may show it on full quality on click).
Inputs:
    - src: image path [required]
    - class: center, right, left
    - width: width for image (example: 400px, 20%)
    - caption: text for caption
    - alt: alt text for the image (caption will be used if not specified)
    - link: href on caption
{{ $class :=  or (.Get "class") "center" }}
{{ $image = resources.GetMatch (.Get "src") }}
{{ $caption := "" }}


{{/* Generate Thumbnail */}}
{{ if ge $image.Width $image.Height }}
{{ if ge $image.Width "600" }}
    {{ $.Scratch.Set "thumbnail" ($image.Resize "600x q90") }}
{{ else}}
    {{ $.Scratch.Set "thumbnail" $image }}
{{ end }}
{{ else }}
{{ if ge $image.Height "450" }}
    {{ $.Scratch.Set "thumbnail" ($image.Resize "x450 q90") }}
{{ else }}
    {{ $.Scratch.Set "thumbnail" $image }}
{{ end }}
{{ end }}

{{ if (.Get "caption") }}
    {{ $caption = (.Get "caption" | markdownify | plainify) }}
{{ else }}
    {{ $caption = (path.Split $image.Name).File }}
{{ end }}

{{ $nanogallery2_settings := getJSON "/static/ng2_lightbox.json" | jsonify}}

<figure class="{{ $class }}">
<img src="{{ ($.Scratch.Get "thumbnail").RelPermalink }}" data-ngsrc="{{$image.RelPermalink}}"
    data-nanogallery2-lightbox="{{$nanogallery2_settings}}"
    alt="{{ $caption }}" {{ with .Get "width" }} width="{{.}}"{{ end }}/>
{{ with .Get "link" }}<a href="{{.}}">{{ end }}
{{ with .Get "caption" }}<figcaption>{{ $caption }}</figcaption>{{ end }}
{{ if .Get "link" }}</a>{{ end }}
</figure>